Sunday, August 26, 2018
Common Art Set-Up Post
Post to set up blog pages
Tech Art Set-Up Post
Post to set up blog pages
3D Cube Project
To kick our school work off, we are tasked to work with
basic shapes in both Maya and Unreal Engine 4. The star of today’s project will
be a simple beveled cube. We will take this primitive structure, give it a few
different materials, and see if we can create something fun with it.
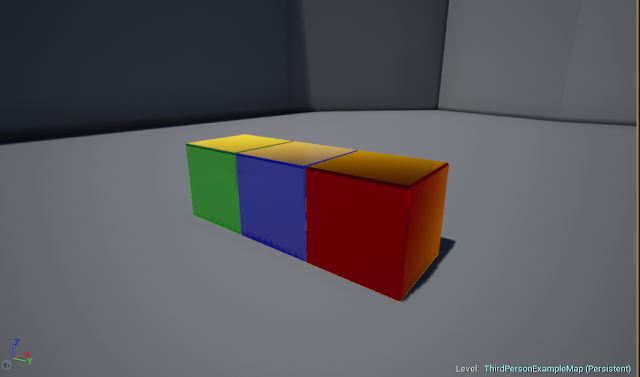
To start off, we need to establish scale. Using the
mannequin from the Unreal Engine, we can get a good feel for our basic cube
building block’s relationship to the world around it. The block we will be
using for the majority of this project is roughly a 10 x 10 x 10 cm cube.
Adding a little character to this cube, we will add a
bevel to its edges.
Exporting our cube from Maya we now get to play around with
materials. Below you can see a few iterations of these materials when playing
around in the UE4 material instance manager.
The materials for this project will combine scalable values
for the block’s color, metallic expression, specularity, roughness, and
emission. Seen here in the material editor, with these values established, we are
able to generate multiple different instances to produce near-limitless
material variations for our cubes.

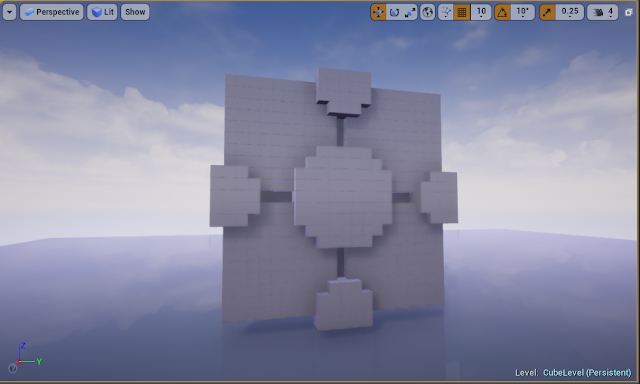
Now we begin the building process. Using grid snapping to
keep dimensions proportional, I began creating the base structure for my object
of choice. Any guesses what it could be yet?
One side done! Time for some material assignments. After
generating a few new instances, I am happy with the color palate I was able to
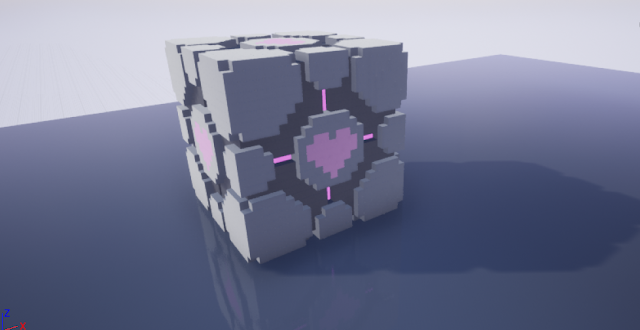
generate. Our object should be recognizable at this point. I wanted to pay
homage to the humble cube, and what better way to do that than reconstructing
everyone’s favorite testing buddy: the companion cube!
A little over 5000 cubes later, and our testing companion is
complete! Our cube has taken shape and is ready for a bit of atmosphere.
I threw an atmospheric fog of darkness over the world and
constructed a few testing panels to place our little companion on. A simple
setting, but its dark/mysterious setting fits the lore of Portal, and I wanted
the focus to remain on the main cube.
Syd Mead - Basic Shapes and Shadows
One of my first foray into detailed shading 2D imagery, we will be looking to the work of neo-futuristic concept artist Syd Mead.
Among his collection, I took a particular liking to one particular vehicle.
The minimalist design with a bit of 50's chrome and fender flare caught my eye and drove my desire to recreate this form in a more basic fashion.
I started with a base outline, just capturing the core shapes that made out the vehicle.
After understanding the basic shapes of the vehicle, I set out to refine and clean up the art works.
With the line work now done, I set a mid tone and started shading with the idea that the sun was placed to the front right of the vehicle.
I learned a great deal about the do's and don'ts on shading. Between how to vary the range of your hue's shadows and highlights, and the proper method to get the most convincing effect out of the smudge tool, I'm looking forward to carrying these new learning points onto my next design.
Subscribe to:
Comments (Atom)


